9 Easy Steps To A Clean Commercial Fryer

If you want your commercial fryer to last long and work efficiently, proper maintenance and cleaning is necessary after use. But don’t worry, it’s not that bad! Here we have outlined a number of easy steps to follow to make cleaning second nature.
Items Needed
Nitrile gloves - these type of gloves will keep your hands and skin safe when it comes time to drain the fryer oil.
Safety Goggles - No one likes to get splashed with soap in their eyes, or even worse hot oil. Keep your eyes protected easily with a pair of safety goggles.
Vinyl Apron - A heavy apron will keep your clothes and skin clear from any type of splashing that may occur.
Drain Valve Extension - This metal tube is threaded and will screw on to the drain flow tube which will allow you to easily empty the fryer oil into a container.
Scrub Brush Long Handle - Use a longer scrub brush to help you reach parts of the fryer that your hands cannot. This brush is also great for cleaning other food equipment.
Fryer Rod - This metal poking tool allows you to clean out the drain tube of any food debris.
Fryer Coil Brush - This brush is much smaller than the scrub brush and can help you get to those hard to reach areas.
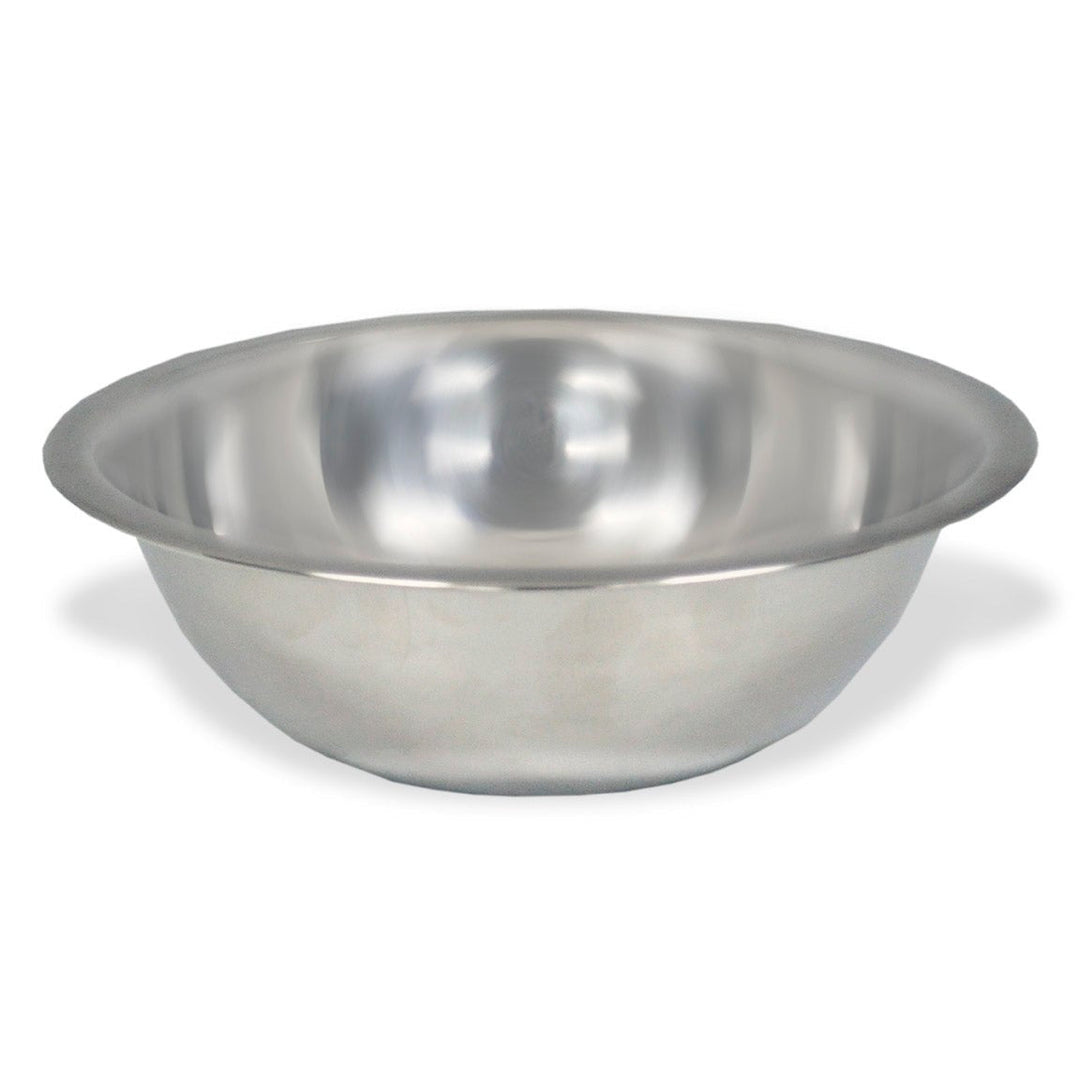
Stock Pot or Large Stainless Steel Bucket - Use this basin to catch the oil
Steps to Clean A Fryer
Step 1 Turn off Thermostat Make sure to let the oil cool to at least 150 degrees Fahrenheit. No reason to burn yourself over cleaning a fryer! This would also be the best time to put on your vinyl apron and safety goggles in preparation of scrubbing.
Step 2 Remove Obstacles Remove baskets, basket hangers, and the tank racks. These are all items that would be getting in the way when it comes time to cleaning.
Step 3 Drain Grease If needed, attach a drain valve extension to the fryer. Then place a stock pot, steel bucket, or oil caddy underneath the end of the valve extension. Slowly, open the valve to release the oil. Doing this slowly prevents splashing.
Step 4 Remove Debris Grab a rag and wipe down the interior sides of the fryer. For tougher build-up, scrub with an abrasive brush. Use a fryer rod to clean out any leftover food out of drain line.
Step 5 Rinse Make sure the deep fryer is near a water a drain and pour hot water in the fryer to wash away any remaining fat.
Step 6 Brush Use your fryer coil brush to start scrubbing in places that you can’t reach. Like in between the flumes and deep along the sides. An L-shaped coil brush is also great for reaching areas that a straight brush can’t. But be careful when cleaning around the thermostatic probes as they can be damaged during cleaning.
Step 7 Rinse Again Pour more water through the fryer to wash away any debris the brushing released.
Step 8 Boil Out Now fill the fryer basin halfway with hot water and use a boil out product, like Mr. Muscle Liquid Fryer Boil-Out, or a degreaser. Turn on the thermostat for 15-20 minutes. Then drain the cleaning solution.
Step 9 Rinse One More Time Wash away any leftover cleaning chemicals with hot water.
If you want your commercial fryer or other restaurant equipment to perform like a champ every night, than it is essential you give it the tender loving care it needs.
If you follow these cleaning steps after each use, you can expect your fryer to last a long fryin time!